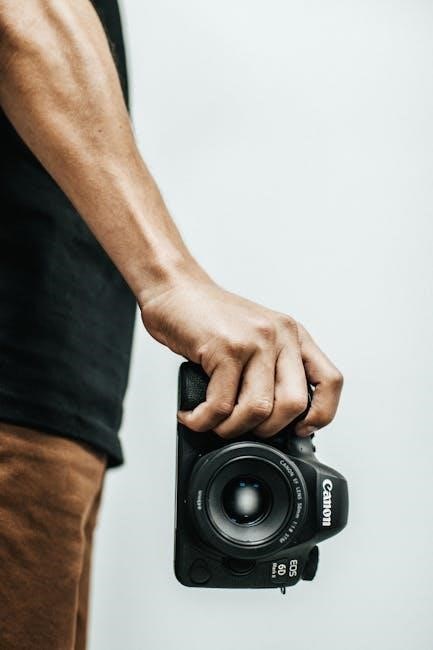
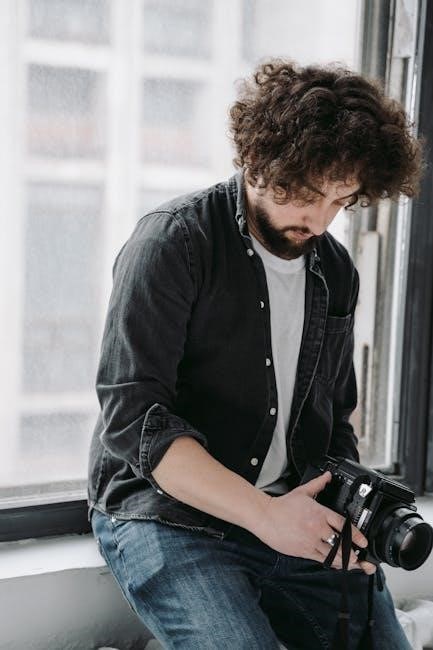
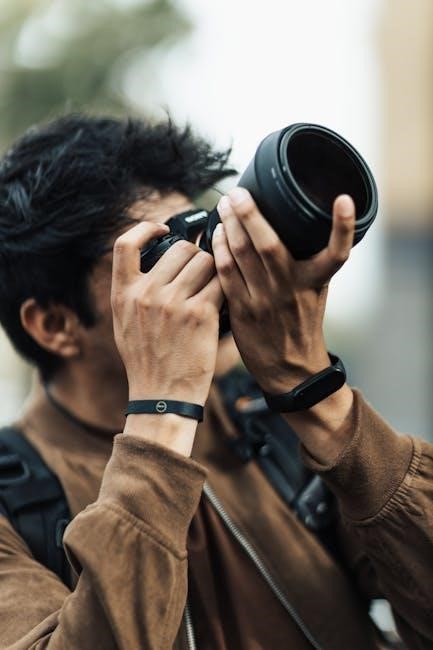
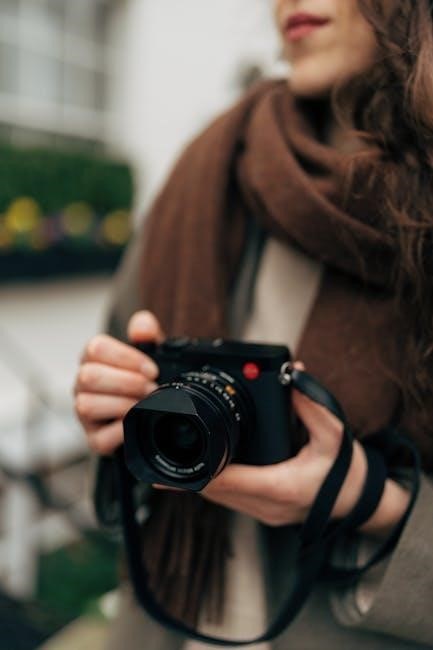
Manual mode empowers photographers to take full control of their camera settings, allowing creative freedom to capture unique visions. It offers complete command over aperture, shutter speed, and ISO, enabling precise adjustments for desired effects. This mode is ideal for those seeking to move beyond automatic settings and unlock their camera’s full potential, ensuring each shot reflects their artistic intent. Mastering manual mode fosters consistency and enhances photographic expression, making it an essential skill for photographers aiming to elevate their craft.
What is Manual Mode and Its Importance in Photography
Manual mode is a camera setting that grants photographers full control over exposure elements such as aperture, shutter speed, and ISO. Unlike automatic modes, it eliminates the camera’s decision-making, allowing for precise adjustments to achieve the desired visual outcome. This mode is essential for photographers who want to express their creative vision accurately, as it enables tailored control over lighting, depth, and motion. By understanding and mastering manual mode, photographers can unlock their camera’s full potential, ensuring consistent and high-quality results. It is particularly valuable in challenging lighting conditions or when a specific artistic effect is desired. Manual mode bridges the gap between technical skills and creative expression, making it a cornerstone of professional photography.
The Exposure Triangle: Understanding Aperture, Shutter Speed, and ISO
The exposure triangle—aperture, shutter speed, and ISO—forms the foundation of manual mode photography. These three elements work together to control light and create desired effects, enabling photographers to achieve precise exposures and artistic visions by balancing their settings. Mastering this trio is essential for capturing images with optimal lighting and depth, as each component influences the final result uniquely. Understanding their interplay allows photographers to make intentional adjustments, ensuring creative control over every shot. This fundamental concept is crucial for unlocking the full potential of manual mode and producing high-quality, visually striking photographs.
Aperture: Controlling Depth of Field
Aperture is a fundamental component of the exposure triangle, regulating the amount of light entering the lens through its adjustable opening. Measured in f-stops (e.g., f/2.8 or f/11), aperture directly influences depth of field, which determines how much of the image is in focus. A lower f-stop value (larger aperture) creates a shallow depth of field, blurring the background and emphasizing the subject. Conversely, a higher f-stop value (smaller aperture) keeps more of the image sharp, ideal for landscapes or group photos. Mastering aperture allows photographers to control visual emphasis and storytelling in their images, making it a powerful tool for creative expression. Experimenting with aperture settings helps photographers achieve their desired aesthetic, whether isolating subjects or capturing detailed scenes.
Shutter Speed: Capturing Motion and Blur
Shutter speed, measured in seconds or fractions of a second, determines how long the camera’s shutter remains open, directly influencing motion capture and blur. A slower shutter speed (e.g., 1/30s) allows more light and creates artistic blur, ideal for conveying movement, such as in waterfalls or dancing subjects. Faster speeds (e.g., 1/1000s) freeze action, capturing sharp images of moving objects like wildlife or athletes. This control enables photographers to emphasize or minimize motion, adding dynamic effects to their work. Balancing shutter speed with other exposure elements is crucial for achieving desired results, whether creating silky water effects or crisp portraits. Mastering shutter speed enhances creative control, allowing photographers to tell stories through motion and stillness in their images.
ISO: Managing Light Sensitivity and Noise
ISO controls the camera’s light sensitivity, allowing adjustments to suit various lighting conditions. Lower ISO values (e.g., ISO 100) are ideal for bright environments, producing images with minimal noise. Higher ISOs (e.g., ISO 6400) are used in low-light settings but may introduce noise, degrading image quality. Balancing ISO with aperture and shutter speed is crucial for achieving optimal exposure while maintaining clarity. It’s best to start with the lowest ISO necessary for the scene to minimize noise and preserve detail. Adjusting ISO independently in manual mode gives photographers flexibility to adapt to changing light conditions, ensuring sharp and clean results in diverse environments.
Advanced Manual Mode Controls
Advanced manual mode controls include white balance, metering modes, and RAW image capture, enabling precise adjustments for enhanced creativity, consistency, and image quality in various lighting scenarios.
White Balance: Setting the Color Tone of Your Photos
White balance is a crucial setting in manual mode that adjusts the color tone of your images to ensure accurate representation under different lighting conditions. It helps eliminate unwanted color casts, such as the yellowish hue of indoor lighting or the bluish tint of shade. Common presets include Daylight, Tungsten, Fluorescent, and Cloudy, while Auto mode attempts to adjust automatically. However, manual white balance allows precise control by setting a specific Kelvin temperature, typically ranging from 2500K to 10000K. This feature is particularly useful in mixed lighting scenarios or when aiming for creative color effects. By mastering white balance, photographers can achieve more natural-looking images or intentionally alter the mood of a scene, enhancing the overall visual appeal and professionalism of their work.
Metering Mode: Measuring Light for Accurate Exposure
Metering mode is a fundamental tool in manual photography, helping you measure light accurately to achieve the perfect exposure. It analyzes the brightness of a scene and provides a baseline for setting aperture, shutter speed, and ISO. Common metering modes include Multi-zone (evaluative), Center-weighted, and Spot metering. Multi-zone evaluates the entire scene for balanced exposure, while Center-weighted prioritizes the central area. Spot metering focuses on a specific point, ideal for high-contrast situations. By selecting the right metering mode, you can avoid overexposure or underexposure, ensuring your subject is correctly lit. This feature is especially useful in challenging lighting conditions, giving you greater control over your camera’s exposure calculations for professional-looking results.
Mastering Manual Mode
Mastering manual mode requires practice and consistency, allowing photographers to understand the exposure triangle fully. It enables capturing images exactly as envisioned, unlocking creative potential through precise control.
Step-by-Step Guide to Shooting in Manual Mode
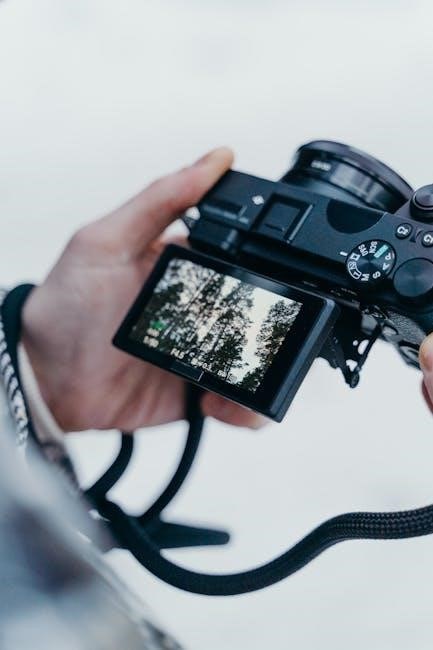
Shooting in manual mode begins with setting your camera to “M” mode. Start by adjusting the aperture to control depth of field, then set the shutter speed to capture motion or blur as desired. Next, adjust the ISO to manage light sensitivity and minimize noise. Use the light meter to ensure proper exposure, bracketing your settings if needed. Set the white balance to match the lighting conditions for accurate colors. Finally, review your shot on the LCD and make fine-tuned adjustments to achieve the desired result. Practice this process consistently to master manual mode and unlock your creative vision in photography.
Troubleshooting Common Issues in Manual Mode
When shooting in manual mode, common issues like overexposure or underexposure can occur. If your image is too bright, reduce the aperture, lower the ISO, or increase the shutter speed. Conversely, if it’s too dark, widen the aperture, raise the ISO, or slow the shutter speed. To minimize noise in low-light photos, keep the ISO as low as possible and use a tripod for stability. If motion blur is unwanted, increase the shutter speed. For sharp focus, ensure your subject is within the depth of field and avoid camera shake. Adjusting white balance can also correct unnatural colors. Regularly reviewing your shots and making adjustments helps refine your technique and resolve issues efficiently.
Best Practices for Using Manual Mode
Master the exposure triangle, practice regularly, and use a tripod for stability. Review your shots to refine techniques and ensure precise adjustments for optimal results in manual mode.
When to Use Manual Mode for Optimal Results
Manual Mode is most effective in challenging lighting conditions, such as high contrast scenes or low light, where precise control over exposure is necessary; It excels when creating specific artistic effects like shallow depth of field or freezing motion. Use it for consistent results in controlled environments and for long exposures to capture effects like star trails. However, it may be less practical in dynamic situations requiring rapid adjustments. Opt for Manual Mode when you need precise control to balance exposure, minimize noise, or achieve a desired aesthetic, ensuring each shot meets your creative vision.
Essential Tips for Shooting in Manual Mode
Mastering manual mode requires practice and a solid understanding of the exposure triangle. Start by setting your ISO to the lowest possible value to minimize noise, then adjust aperture and shutter speed accordingly. Use your camera’s light meter to gauge exposure accuracy and make incremental adjustments. Shoot in RAW format to retain maximum image detail for post-processing. Familiarize yourself with the camera’s controls to make adjustments quickly. Practice in controlled environments before tackling challenging conditions. Keep a cheat sheet handy to guide your settings. Finally, experiment regularly to refine your technique and adapt to various lighting scenarios, ensuring your creative vision is consistently achieved.
Mastering manual mode unlocks a world of creative possibilities, empowering photographers to take full control of their craft. By understanding and balancing aperture, shutter speed, and ISO, photographers can achieve precisely the results they envision. While it requires practice and patience, shooting in manual mode offers unparalleled artistic freedom and consistency. It allows photographers to adapt to any lighting condition and capture images that reflect their unique style. Embracing manual mode is a transformative step in photographic journey, enabling enthusiasts to push their skills and produce stunning, professional-quality images. With dedication, manual mode becomes second nature, elevating photography from a hobby to an art form.